That gap between the top of kitchen cabinets and the ceiling is a design challenge most homeowners face. Leave it bare and it collects dust and grease. Decorate it poorly and the whole kitchen looks cluttered or dated. But done right, that awkward space becomes a visual asset, adding height, personality, and even functional storage. Whether someone’s working with eight inches or two feet of clearance, the right approach turns cabinet tops from an afterthought into a deliberate design element. This guide walks through the practical decisions, styling strategies, and maintenance realities of decorating above kitchen cabinets.
Table of Contents
ToggleKey Takeaways
- Decorating the top of kitchen cabinets transforms an overlooked space into a design asset that draws the eye upward and makes the room feel taller and more polished.
- Measure your vertical clearance first—less than 3 inches is too tight, while 12+ inches allows for taller vases and layered groupings that work best for decorating above kitchen cabinets.
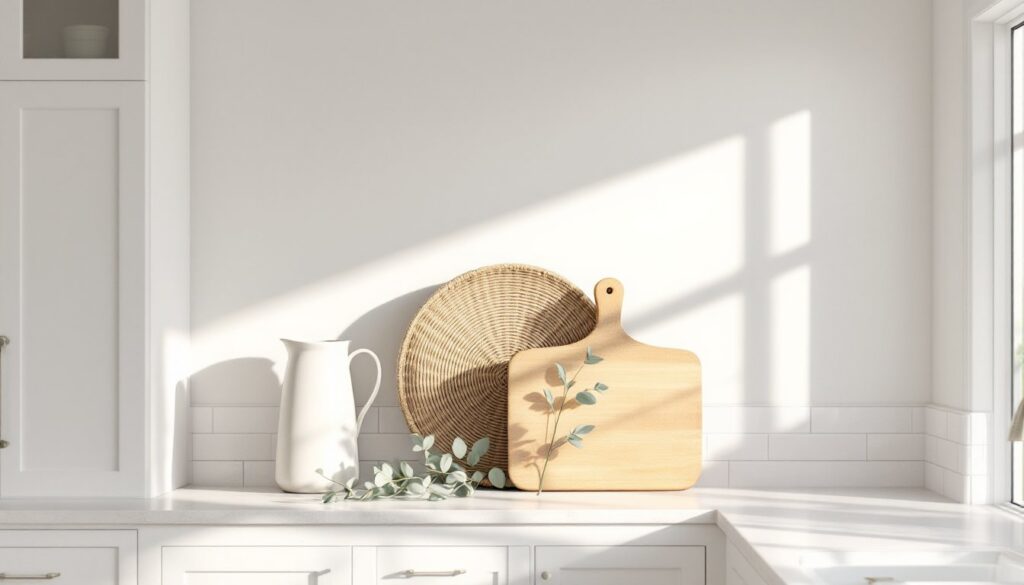
- Choose decor that complements your kitchen’s existing style, using greenery, baskets, pottery, and collected items that reinforce your design aesthetic without overwhelming the space.
- Arrange items in odd-numbered groupings with varied heights and textures, using visual triangles and breathing room to create balance rather than filling every inch.
- Clean cabinet tops every 4 to 6 weeks with a degreasing solution and select low-maintenance decor with smooth surfaces that won’t trap grease or dust.
Why Decorating Above Kitchen Cabinets Makes a Difference
The space above kitchen cabinets is one of those areas that’s impossible to ignore once someone starts thinking about it. Left empty, it creates a visual dead zone that makes ceilings feel lower and the kitchen feel unfinished. Decorated thoughtfully, it draws the eye upward, making the room feel taller and more polished.
From a practical standpoint, cabinet tops collect grease vapor, dust, and cooking residue faster than almost any other surface in the home. Placing decorative items there serves a dual purpose: it blocks some of that buildup from settling directly on the cabinet surface and gives the kitchen a more curated, intentional look. This matters especially in open-concept layouts where the kitchen is visible from living areas.
Decorating this space also offers a chance to reinforce the kitchen’s style without committing to a full renovation. A farmhouse kitchen gets warmer with vintage crocks and woven baskets. A modern space benefits from clean-lined pottery or architectural objects. The cabinet top becomes a gallery for pieces that might overwhelm counters but work perfectly at eye level when standing.
What to Consider Before You Start Decorating
Ceiling Height and Cabinet Proportions
The distance between cabinet top and ceiling dictates what’s possible. Measure the vertical clearance before buying anything. Less than 3 inches makes decorating nearly impossible, the space is too tight for most objects and becomes a maintenance headache. 3 to 12 inches allows for low-profile items like platters, trays, or horizontal greenery. 12 to 24 inches or more opens up options for taller vases, stacked baskets, or layered groupings.
Cabinet depth also matters. Standard upper cabinets are 12 inches deep, which limits how far forward items can sit without looking precarious. Anything placed up there should be stable and not overhang the front edge. If cabinets are mounted with a soffit (a boxed-in section between cabinet and ceiling), the space may be sealed off entirely, some homeowners choose to remove soffits during remodels to create this decorating opportunity.
Your Kitchen Style and Color Palette
The cabinet top isn’t an isolated design moment, it needs to tie into what’s already happening in the kitchen. Look at existing finishes: cabinet color, countertop material, backsplash, and wall paint. Decor should complement, not compete.
For traditional or farmhouse kitchens, warm wood tones, ironstone, woven textures, and vintage finds work well. Modern or minimalist kitchens call for restraint, think sculptural ceramics, monochrome palettes, or a single statement piece rather than clusters. Transitional spaces benefit from a mix: perhaps linen-wrapped bottles paired with sleek frames or matte pottery.
Color is where things can go wrong quickly. The goal isn’t to match exactly but to create harmony. If backsplash and walls are busy, keep cabinet top decor neutral. If the kitchen is mostly white or gray, this is the spot to introduce an accent color that appears elsewhere, in bar stools, window treatments, or dish towels.
Best Decorating Ideas for the Top of Kitchen Cabinets
Greenery and botanicals are the easiest win. Faux stems (eucalyptus, olive branches, magnolia) look natural and don’t require watering. Real plants work only if there’s adequate light and someone’s committed to maintenance. Trailing pothos or philodendron can soften cabinet edges if there’s enough clearance.
Baskets add texture and storage. Woven styles in rattan, seagrass, or wire work for farmhouse or coastal looks. Stacking two or three of graduated sizes creates height variation. They can hold off-season linens, seldom-used serving pieces, or kitchen overflow, just don’t make them so heavy they’re hard to retrieve.
Pottery and ceramics bring both color and shape. Large crocks, pitchers, or bowls work well solo or in pairs. Mixing matte and glazed finishes adds visual interest without clutter. For contemporary spaces, many design-forward kitchens showcase sculptural vessels in neutral tones as standalone pieces.
Books can work if they’re oversized, design-focused volumes (cookbooks, art books, travel photography). Stack them horizontally in small piles, not lined up like a library. This works best in eclectic or traditional kitchens: modern spaces often skip books entirely.
Vintage or collected items personalize the space. Enamelware, cutting boards, wooden dough bowls, and old scales add character in country or cottage kitchens. These need to fit the home’s overall aesthetic, they should look collected, not cluttered.
Trays and platters laid flat or propped against the wall offer an easy, low-profile option. Wooden cutting boards, enamel trays, or ceramic platters in varying sizes can be arranged in overlapping groups. This approach is especially practical for lower clearances.
Framed art or signs can work but should be approached carefully. Leaning frames rather than hanging prevents extra wall damage and allows for flexibility. Keep text minimal and avoid overly cute or dated phrases. Simple line drawings, vintage ads, or black-and-white photography tend to age better.
Decorative boxes or canisters provide hidden storage while maintaining a styled look. Metal, wood, or linen-wrapped boxes in coordinating finishes hold small kitchen overflow without visual chaos.
For homeowners seeking more creative cabinet styling inspiration, mixing materials and heights keeps arrangements from looking flat. The key is intentional restraint, less is almost always more.
How to Style and Arrange Your Cabinet Top Decor
Styling cabinet tops is less about following rigid rules and more about visual balance. Start with a plan, not a pile. Lay items out on a counter or table first to test groupings and proportions before climbing a ladder.
Use odd-numbered groupings. Three or five items per section feels more dynamic than even numbers. This doesn’t mean three identical objects, vary height, shape, and texture within the group.
Layer front to back if clearance allows. Place taller items toward the back, shorter or wider pieces in front. This creates depth and prevents everything from sitting in a flat row. Leaning items (trays, frames, cutting boards) should angle against the wall, not the cabinet edge.
Create visual triangles. Arrange items so the eye moves up and across in a triangular path. If there’s a tall vase on the left, balance it with a medium-height basket on the right and a low, wide bowl in the center. This principle applies whether decorating one cabinet section or a full wall of uppers.
Leave breathing room. Not every inch needs to be filled. Empty space is as important as the objects, it keeps the display from feeling overwhelming. This is especially true in modern kitchens where restraint is part of the aesthetic.
Anchor with larger pieces, accent with smaller. A large crock or basket becomes the focal point: smaller items (a bundle of stems, a small bowl, a candle) support it. Avoid too many small objects, which read as clutter from across the room.
Repeat a color or material across the display. If there’s a blue pitcher on one side, echo that blue in a bowl or book on the other. Same with natural materials, if there’s a woven basket, adding a wooden cutting board ties things together.
For those drawing on home decor makeover techniques, the cabinet top should feel like an extension of the kitchen’s overall design, not a separate decorating project. Functionality still matters, don’t place anything so heavy or awkward that it’s impossible to dust or retrieve without risk.
Maintenance Tips for Keeping Cabinet Tops Clean and Fresh
Cabinet tops accumulate grease and dust faster than almost anywhere else. Cooking releases aerosolized oils that settle on every surface, and heat rises, carrying particles with it. This isn’t a set-it-and-forget-it space.
Plan to clean every 4 to 6 weeks. Remove all items, wipe down the cabinet surface with a degreasing cleaner (a 50/50 mix of vinegar and water works, or use a dedicated kitchen degreaser), and dust or wipe each decorative piece before returning it. This frequency prevents buildup from hardening into a sticky film that’s harder to remove later.
Use a step stool or small ladder safely. Don’t overreach or stand on counters. A 2-step folding stool with a handrail is stable for most people. For higher cabinets, a 6-foot stepladder is safer than stretching.
Choose decor that’s easy to clean. Avoid items with intricate detailing, deep crevices, or fragile finishes that can’t handle a damp cloth. Smooth ceramics, sealed wood, and wipeable baskets are low-maintenance. Fabric, dried flowers, and porous unglazed pottery trap grease and are harder to keep fresh.
Rotate decor seasonally. This serves two purposes: it gives the kitchen a refresh without cost, and it forces regular cleaning. Swapping in lighter colors and greenery for spring, warmer tones for fall, keeps the space from looking stale.
Address grease immediately if splatters occur. If someone’s frying or searing at high heat, grease can splatter upward. Wipe it down while it’s fresh: once it cools and hardens, it bonds to surfaces and requires stronger cleaners or scrubbing.
Consider a protective barrier. Some homeowners line cabinet tops with parchment paper, kraft paper, or thin plastic sheeting before decorating. It’s not the most attractive solution, but it catches grease and dust and can be swapped out quickly. This works best if decor items are large enough to conceal the liner.
Don’t ignore the tops of the decor itself. Dust and grease settle on baskets, vases, and platters just as they do on the cabinet. Turn items over during cleaning and wipe all surfaces, not just what’s visible from below.
Neglecting this space for months turns a design feature into a dingy eyesore. Regular attention keeps cabinet top decor looking intentional and fresh, not like forgotten clutter that’s been gathering grime.