The Blink XT camera made a name for itself as an affordable, wire-free security option that doesn’t demand monthly fees or complicated wiring. It’s one of Amazon’s early wins in the home security space, designed to withstand weather and run for up to two years on two AA lithium batteries. This guide walks through everything from unboxing to troubleshooting, with real-world performance notes and setup steps that’ll have the system running in under an hour. Whether mounting it to monitor a driveway or keeping tabs on a side entrance, the Blink XT delivers functional security without the pro-install price tag.
Table of Contents
ToggleKey Takeaways
- The Blink XT camera offers affordable, wire-free home security without monthly fees, running on AA lithium batteries for up to two years and requiring only a sync module connected to your router.
- Setup takes 15–30 minutes for a single Blink XT unit; the battery-powered design eliminates outlet placement and complicated wiring, making it ideal for DIY installation at entry points and driveways.
- Battery life averages 12–18 months with moderate use, but cold weather reduces performance by 30–50%, and using activity zones can extend battery life by minimizing false motion alerts.
- Night vision covers about 20 feet effectively with infrared LEDs, and two-way audio enables quick communication, though both fall short of professional-grade surveillance systems.
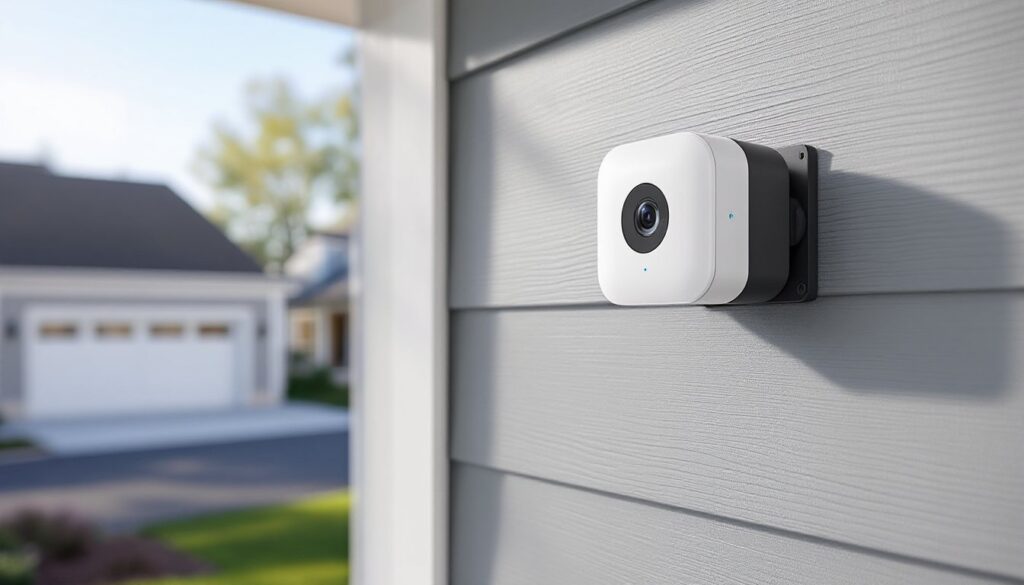
- Mounting flexibility includes screw and adhesive methods with 360-degree rotation; position cameras at a 15–30 degree downward angle to focus on entryways and reduce unnecessary triggers.
- Optimize video quality and battery performance by using only lithium batteries, reducing clip length to 5–10 seconds, disabling live view unless needed, and cleaning the lens quarterly with a microfiber cloth.
What Makes the Blink XT Camera Stand Out for Home Security
The Blink XT operates entirely on battery power, which eliminates the need for outlet placement or low-voltage wiring. That’s a significant advantage over hardwired systems or even solar-rechargeable cameras that still need occasional sunlight exposure.
It records 720p HD video and connects via 2.4 GHz Wi-Fi to a sync module hub that plugs into a standard outlet and router. The sync module handles up to 10 cameras and includes a USB port for local storage if users prefer to avoid cloud subscriptions. Without a subscription, motion-triggered clips save locally: with Blink’s optional plan, clips store in the cloud for 60 days.
The camera is weather-resistant and rated for operation between -4°F and 113°F, making it viable for exposed outdoor mounting in most climates. It won’t replace professional-grade surveillance systems, but for DIYers looking to cover entry points or monitor package deliveries, it hits a practical middle ground between cost and capability.
Unboxing and What’s Included with Your Blink XT
Inside the box, expect the following:
- Blink XT camera unit with attached mounting bracket
- Sync Module 2 with power adapter and USB cable
- Two AA lithium batteries (pre-installed in some kits)
- Mounting hardware: screws and wall anchors
- Quick-start guide with QR code for app download
The camera measures roughly 2.75 x 2.75 x 1.25 inches and weighs about 2.5 ounces with batteries. The mounting bracket is a single piece that accepts both screw-mount and adhesive-mount methods, though adhesive isn’t included and must be purchased separately if preferred.
The sync module is a small black box about the size of a deck of cards. It requires placement within Wi-Fi range and near an Ethernet port on the router. A USB thumb drive (sold separately, up to 256 GB) can be inserted for local clip storage, which is a useful backup if internet service drops or cloud storage isn’t desired.
Step-by-Step Setup and Installation Guide
Setup begins with the Blink Home Monitor app, available for iOS and Android. Create an account, then follow the prompts to add a new system.
- Plug in the sync module to power and connect it to the router via Ethernet cable. Wait for the blue and green LEDs to display, blue indicates power, green confirms internet connection.
- Open the Blink app and select “Add a Sync Module.” Scan the QR code on the back of the module or manually enter the serial number.
- Add the camera by selecting “Add a Device” and choosing Blink XT. Remove the battery pull tab or insert the two AA lithiums if not pre-installed.
- Wait for the camera’s blue LED to flash. The app will prompt to scan the camera’s QR code or enter its serial number.
- Name the camera based on location (e.g., “Front Door” or “Driveway”) and assign it to a room within the app for easier navigation.
- Test motion detection by walking in front of the camera and checking for a recorded clip in the app. Adjust sensitivity in settings if needed.
Total setup time runs 15–30 minutes for a single camera and sync module. Adding more cameras to the same system takes about five minutes each.
Mounting Options for Indoor and Outdoor Use
The included bracket allows 360-degree rotation and a ball-joint swivel for fine-tuning the angle. For outdoor installations, mount the camera under an eave or overhang when possible to extend battery life and reduce exposure to direct rain, even though the unit is weather-resistant.
Screw-mount method:
- Mark drill points using the bracket as a template.
- Drill pilot holes with a 3/32-inch bit for wood surfaces or a masonry bit for brick or stucco.
- Insert the provided plastic anchors if mounting to drywall or masonry.
- Drive screws through the bracket and tighten until snug, don’t overtighten, as the plastic bracket can crack.
- Snap the camera into the bracket and adjust the angle.
Adhesive-mount method:
Purchase outdoor-rated adhesive strips (e.g., 3M Command Outdoor strips rated for at least 3 pounds). Clean the surface with isopropyl alcohol, let it dry, then press the strip-mounted bracket firmly for 30 seconds. Allow adhesive to cure for 24 hours before attaching the camera. This method works well for vinyl siding or smooth metal surfaces but isn’t recommended for rough stucco or porous brick.
Key Features and Performance in Real-World Conditions
The Blink XT uses passive infrared (PIR) motion detection, which triggers recording when it senses heat signatures moving across the field of view. This reduces false alerts from swaying branches but can miss motion if the subject approaches head-on in very cold weather, where thermal contrast is lower.
Night vision relies on an infrared LED array with an effective range of about 20 feet. Image quality is clear enough to identify faces or read license plates at close range, but fine details wash out beyond 15 feet. Daytime video is adequate for identifying visitors or package theft but lacks the sharpness of higher-end 1080p cameras reviewed by smart home testing labs.
Two-way audio is available through the app, with a built-in microphone and speaker. Audio quality is compressed and has a slight delay, but it’s functional for quick exchanges like directing a delivery person or deterring a trespasser.
Battery life averages 12–18 months with moderate use (10–15 motion events per day). Cold weather significantly impacts lithium battery performance, expect 30–50% shorter life in climates that dip below freezing regularly. The app displays battery percentage, and replacement batteries are standard AA lithiums available at any hardware store.
Troubleshooting Common Blink XT Camera Issues
Camera won’t connect to sync module:
- Verify the sync module shows a solid blue and green LED. If green is blinking, check the Ethernet connection and router settings.
- Remove the camera batteries for 10 seconds, reinsert, and retry the add process in the app.
- Ensure the camera is within 100 feet of the sync module with minimal obstructions (brick walls and metal siding reduce range).
Frequent false motion alerts:
- Lower the motion sensitivity slider in the app (found under camera settings).
- Reposition the camera to avoid direct sunlight, reflective surfaces, or high-traffic areas like busy streets.
- Adjust the motion zones in the app to exclude areas with constant movement, such as tree branches or passing cars.
Poor night vision quality:
- Clean the camera lens with a microfiber cloth, dust and grime scatter infrared light.
- Move the camera closer to the monitored area: IR range drops significantly beyond 20 feet.
- Check for nearby IR interference from other security lights or cameras on the same wavelength.
Cloud clips not saving:
- Confirm an active Blink subscription or insert a USB drive into the sync module for local storage.
- Restart the sync module by unplugging it for 30 seconds, then reconnecting power.
- Check Wi-Fi signal strength in the app: weak connection (below two bars) can interrupt uploads.
Best Practices for Maximizing Battery Life and Video Quality
Use lithium batteries exclusively. Standard alkaline AAs won’t last more than a few weeks in active use and perform poorly in cold temps. Lithium batteries tolerate temperature swings better and deliver consistent voltage throughout their discharge cycle.
Reduce clip length in the app settings to 5–10 seconds instead of the default 30–60 seconds. Shorter clips use less power and still capture the critical moment when motion is detected.
Disable live view unless needed. Every live view session drains battery since the camera must maintain an active connection. Use it sparingly for real-time checks rather than constant monitoring.
Mount cameras strategically to minimize unnecessary triggers. Position them at a downward angle of 15–30 degrees to focus on entryways rather than sweeping across large open areas. This tightens the detection zone and reduces false positives from distant movement.
Adjust motion sensitivity seasonally. Higher sensitivity is useful in winter when thermal contrast is lower, but it increases false alerts. Lower it in summer when heat signatures are more pronounced. Many DIYers managing connected home devices set reminders to tweak settings twice a year.
Clean the lens quarterly. Dust, pollen, and spiderwebs degrade both daytime and infrared image quality. A quick wipe with a microfiber cloth keeps footage crisp.
Monitor Wi-Fi signal strength in the app. If the camera consistently shows fewer than three bars, consider adding a Wi-Fi extender or relocating the sync module closer to the camera’s position. Weak signal forces the camera to work harder to transmit data, which accelerates battery drain.
Enable activity zones to exclude high-traffic areas that don’t require monitoring. This feature, available in the app, lets users draw custom detection areas on the camera’s field of view, ignoring movement in irrelevant zones like sidewalks or neighboring yards. It’s one of the most effective tools for reducing unnecessary recordings and extending battery life, particularly for setups covering driveways or front yards where passing cars and pedestrians would otherwise trigger constant clips. For those expanding into broader automation, platforms covering home tech trends often highlight zone-based detection as a standard efficiency feature.